PPprint Starter Kit 304x304mm - Raise3D Pro2 series
PPprint Starter Kit 304x304mm - Raise3D Pro2 series is backordered and will ship as soon as it is back in stock.
Couldn't load pickup availability
PPprint Starter Kit 304x304mm - Raise3D Pro2 Series
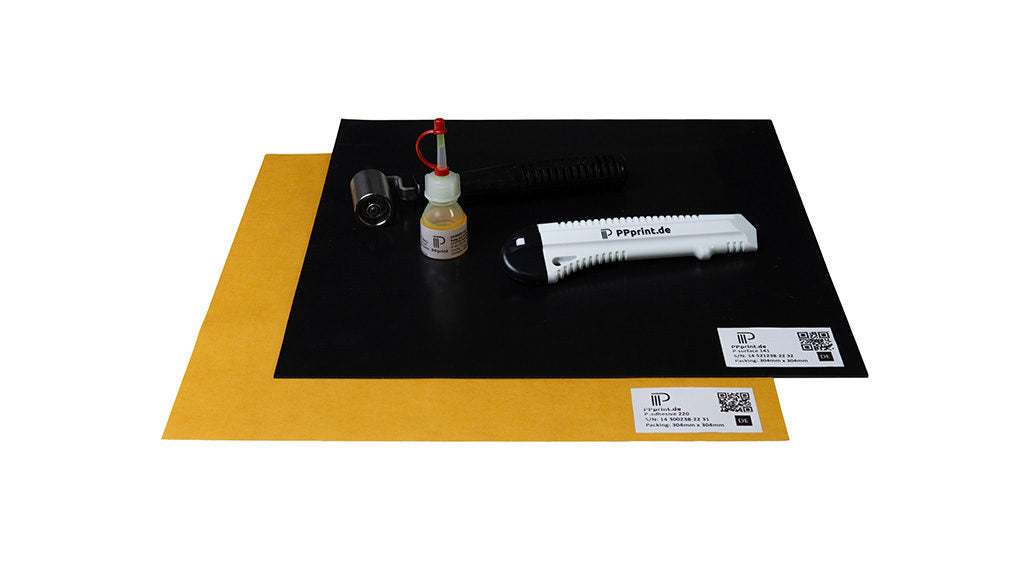
It contains the following elements:
- P-surface 141 in 304x304mm
- P-adhesive 220 in 304x304mm
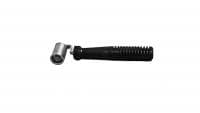
- P-roller 621
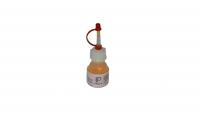
- P-cleaner 10ml
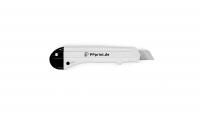
- P-cutter knife
Attention: Picture shows P-wipe. This is not included!
Optimized for use on the Pro2 in combination with PPPrint 721 filament.
'P-surface 141' is a rubber-like mat that can be used in 3D printing for a long time. 'P-surface 141' adheres to smooth surfaces, such as a glass print bed. If this is not the case, the use of the 'P-adhesive 220' film is recommended. 'P-surface 141' offers a perfect surface for 3D printing with PP-based filaments. When applying 'P-surface 141', make sure that the logo is visible so that the correct side is used for printing. 'P-surface 141' can be used directly without any further pretreatment and additional adhesive on the surface. We recommend starting the 3D printing with a print bed temperature of 80°C for the first layer and then letting it cool down to room temperature. This is because at low temperatures the adhesion of the printed object with the 'P-surface 141' is even stronger. After printing is finished, it is best to heat the print bed to 100-110°C, wait about 20 minutes until the temperature has really reached the printed object, and then remove the printed object by gently tilting and lifting it.
'P-surface 141' is a very high-quality, heat-resistant printing surface that has been patented in combination with extrusion-based 3D printing of PP-based filaments. This combination was developed to withstand the typical temperatures on heated printing beds (max. 110 - 125°C) for extrusion-based 3D printing and to ensure optimal adhesion of the component during printing. Due to the optimized properties of 'P-surface 141', the component adheres perfectly to the surface and warping is minimized. The removal of the printed objects from the printing bed surface is best achieved at an increased printing bed temperature of approx. 100 °C.
' P-surface 141 ' offers the following advantages for extrusion-based 3D printing:
- 'P-surface 141' works great in combination with PP-based filaments.
- 'P-surface 141' can also be used with PLA, ABS, PETG, PA12 and other filaments.
- 'P-surface 141' does not require any pre-treatment (such as the application of suspensions or hairspray).
- 'P-surface 141' can be installed on smooth surfaces, such as glass, easily and without adhesive.
- 'P-surface 141' can be fixed to almost all printer beds using 'P-adhesive 220'.
- 'P-surface 141' is very durable when used properly and cared for properly.
- 'P-surface 141' offers optimal adhesion of the printed object to the print bed surface. Adhesion to the printed object decreases above 90 °C. This means that firmly adhering objects can be removed more easily after completion at a print bed temperature of approx. 100 °C.
Application of ' P-surface 141 '
Before you apply 'P-surface 141', the surface of your printer bed must be thoroughly cleaned (see also P-surface cleaner 298) and dried. Immediately after removing the protective film, place 'P-surface 141' on your print bed with the logo facing upwards and start to fix 'P-surface 141' with the hand roller provided from the middle outwards with light pressure. To do this, first move from the middle to the right and left and then from the middle to the front and back. Repeat the pressing process with more pressure and push the air bubbles outwards until 'P-surface 141' lies flat on the surface. If air bubbles are trapped, the air can also be removed by pricking it with a thin needle. To do this, press the air towards the needle using the 'P-roller 621' (leave the needle in place). It is best to repeat the pressing process on the heated print bed again. If 'P-surface 141' comes off or lifts at any point, repeat the pressing process to reattach it. You can remove 'P-surface 141' as often as you like, clean it (see below) and reattach it after the pressing process described above.
If your 3D printer does not have a suitable smooth printer bed (such as glass) and 'P-surface 141' does not adhere sufficiently on its own, you should use the included double-sided adhesive film 'P-adhesive 220' for attachment (see also description 'P-adhesive 220').
Care of 'P-surface 141'
If 'P-surface 141' becomes contaminated over time and the adhesion to the printed component or the printer bed decreases, 'P-surface 141' can be thoroughly cleaned with the P-surface cleaner 298 or, if not available, with detergent and water, then rinsed with plenty of water and reapplied after drying (see "Application" above).
Payment & Security
Payment methods
Your payment information is processed securely. We do not store any credit card information and do not have access to your credit card information.
Zertifizierte Sicherheit & Käuferschutz
Vertrauen Sie auf echte Bewertungen und zertifizierte Sicherheit beim Online-Kauf.

Price on request – your personal offer!
Use the " Price on request " function and get a
tailor-made offer for your desired product. We offer you the opportunity to request an individual price and thus make a unique bargain.
Contact us now for your individual offer!
![PPprint Starter Kit 304x304mm - Raise3D Pro2 series - [3D Material-Shop]](http://3dmaterial-shop.de/cdn/shop/files/PPprint_Raise3D_Starter-Kit.jpg?v=1700337203&width=1214)

![Polymaker PolyTerra PLA Dual 1,75mm 1kg - [3D Material-Shop]](http://3dmaterial-shop.de/cdn/shop/files/PolyTerra-Dual-PLA_1-75mm_1kg_Foggy-Purple-Purple_600x600_d536672b-71f5-4400-a9af-a045bd9a226d.jpg?v=1700312155&width=176)
![PPprint Starter Kit 304x304mm - Raise3D Pro2 series - [3D Material-Shop]](http://3dmaterial-shop.de/cdn/shop/files/PPprint_Raise3D_Starter-Kit.jpg?v=1700337203&width=640)